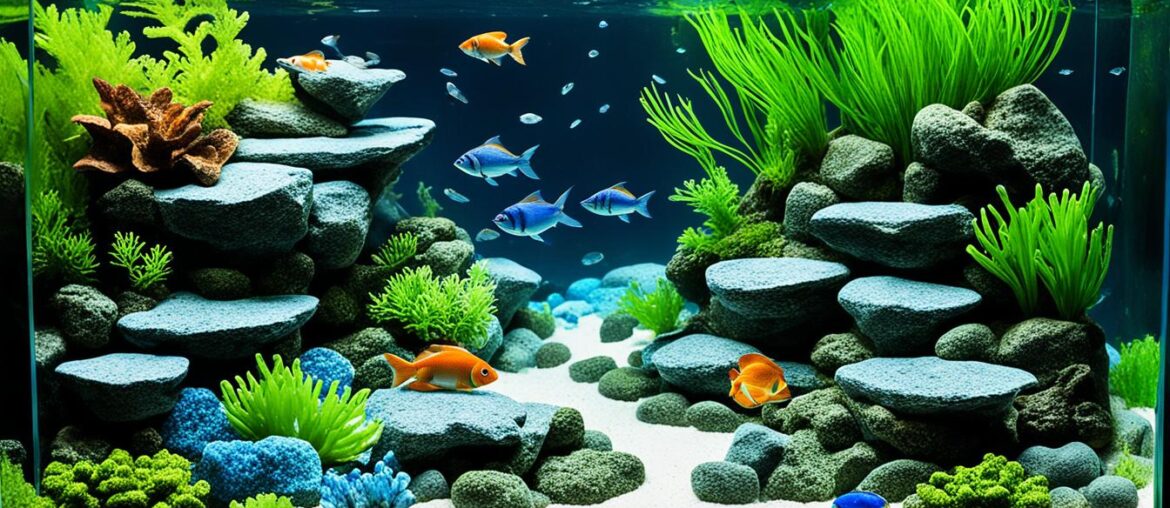
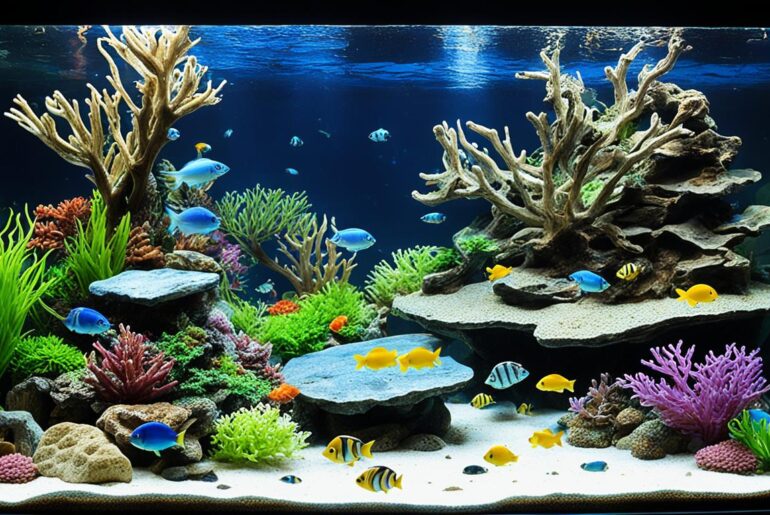
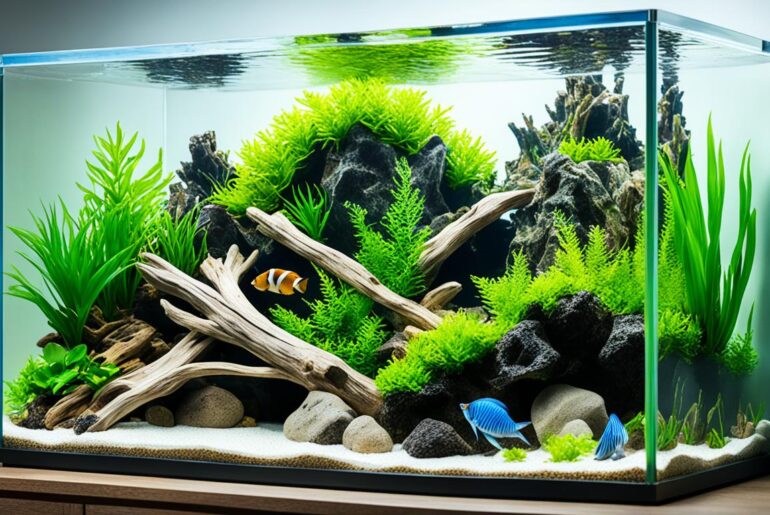
Imagine stepping into your home after a long day, only to be greeted by the serene beauty of your own underwater paradise. The shimmering colors, the graceful movement of fish, and the mesmerizing presence of an intricately designed aquascape transport you to a place of tranquility and wonder. This is the world of DIY aquarium rockscapes, where artistry meets the natural beauty of the ocean.
Hi, I’m Sarah, a passionate aquarium enthusiast, and I’m excited to share with you the secrets to creating your very own DIY aquarium rockscapes. Whether you’re a seasoned hobbyist or just starting out, these 7 easy steps will guide you on a journey of self-expression and creativity, while providing a safe and nurturing environment for your aquatic companions.
Key Takeaways:
- Creating DIY aquarium rockscapes is a rewarding project that allows you to customize your tank to your liking.
- With 7 easy steps, you can transform your aquarium into a stunning aquatic paradise.
- DIY aquarium rockscapes provide a safe and natural habitat for fish and other aquatic creatures.
- You don’t need to be an expert to start creating your own unique rockscapes.
- By following these steps, you’ll be able to enjoy the beauty and tranquility of an underwater masterpiece.
The Importance of Live Rock in Saltwater Aquariums
Live rock plays a crucial role in creating a thriving saltwater aquarium ecosystem. Not only does it enhance the visual appeal of your tank, but it also provides a natural habitat for a variety of marine life, such as fish, crabs, snails, and corals. Additionally, live rock serves as a substrate for beneficial bacteria, which helps maintain water quality and stability.
There are two primary options when it comes to incorporating live rock into your aquarium: DIY live rock and natural live rock. Let’s explore the advantages and considerations of each:
- DIY Live Rock: Making your own DIY live rock offers several benefits. First and foremost, it is more eco-friendly as it does not involve collecting rocks directly from the ocean. Instead, you can use base rock or other inert materials and seed them with beneficial bacteria to create your live rock substitute. DIY live rock also allows for greater flexibility in terms of size and shape, giving you more control over the design and layout of your rockscapes.
- Natural Live Rock: On the other hand, natural live rock is sourced directly from marine environments and contains a diverse range of organisms. It comes ready to use and doesn’t require a curing process like DIY live rock. The organisms present in natural live rock contribute to the overall biodiversity and biological filtration of your aquarium. However, there are considerations to keep in mind, such as the potential introduction of pests or unwanted hitchhikers into your tank.
When deciding between DIY live rock and natural live rock, it’s important to consider your preferences, experience level, and the specific needs of your aquarium inhabitants. Both options have their merits and can contribute to a beautiful and thriving saltwater aquarium.
Expert Tip:
Whichever type of live rock you choose, it’s essential to properly clean and prepare it before adding it to your tank. This includes removing any debris, pests, or unwanted hitchhikers. By taking the time to prepare the live rock, you can minimize the potential risks and ensure a healthy environment for your marine life.
Choosing the Right Rock for Your Aquascape
When creating a DIY aquarium rockscape, selecting the right type of rock is crucial for achieving the desired aesthetic and functionality. There are various options available, each with its own unique characteristics and benefits.
Types of Aquarium Rocks
Two common options for aquarium rockscaping are dry rock and colored rock.
- Dry rock: This type of rock is a popular choice among aquarium enthusiasts due to its versatility. Dry rock allows for more flexibility in shaping and designing your rockscapes, enabling you to create intricate structures and caves for your fish and aquatic plants.
- Colored rock: If you’re looking to add a splash of color to your aquascape, colored rocks are a great option. These rocks come in a variety of vibrant hues, such as red, blue, and green, adding visual interest and enhancing the overall aesthetic appeal of your aquarium.
Considerations for Rock Arrangement
When arranging the rocks in your aquascape, consider the following factors:
- Size: Choose rocks of varying sizes to create depth and dimension in your aquascape. Larger rocks can serve as focal points, while smaller rocks can be used to fill in gaps and create a natural-looking arrangement.
- Shape: Experiment with rocks of different shapes to achieve the desired look. Some rocks may have interesting textures and contours that can add visual interest to your aquascape.
- Appearance: Pay attention to the appearance of the rocks, including their color, texture, and patterns. Consider how they will complement the overall theme and color scheme of your aquarium.
“The right choice of rocks can make a significant impact on the overall beauty and functionality of your aquascape.” – Aquascaping enthusiast
For a visually appealing and cohesive aquascape, it’s essential to carefully select and arrange the rocks. A well-thought-out arrangement can create a stunning underwater landscape that provides a natural habitat for your aquatic inhabitants.
| Rock Type | Advantages | Considerations |
|---|---|---|
| Dry Rock |
|
|
| Colored Rock |
|
|
Table: Comparison of Dry Rock and Colored Rock for Aquarium Rockscaping
By carefully considering the type of rock you choose and paying attention to the arrangement, you can create a captivating and visually pleasing aquascape that will be the centerpiece of your aquarium.
Creating Your Aquascape
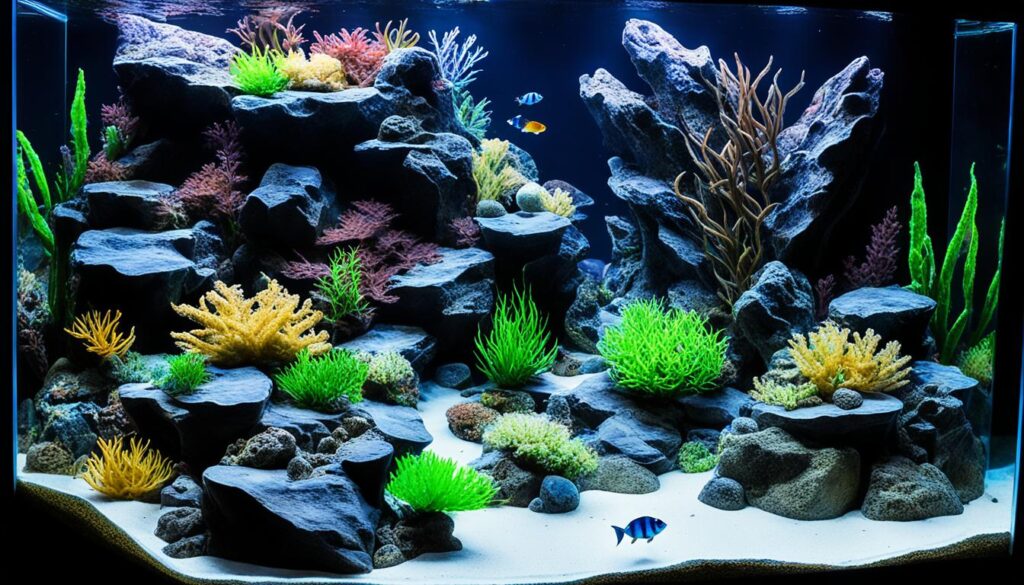
The process of creating an aquascape involves visualizing the finished product, choosing the right rocks, and organizing them by size. When I first started designing my own aquascape, I was amazed by the limitless possibilities and the opportunity to create a unique underwater landscape. Let me share the techniques I’ve learned along the way, from selecting the perfect rocks to securing them in place.
Choosing the Right Rocks
The foundation of any beautiful aquascape is the rocks you choose. There are various options available, each offering different textures, colors, and shapes. When selecting rocks for your tank, keep in mind the overall aesthetic you want to achieve. Do you prefer a natural, rugged look or a more structured and orderly design? Consider your fish’s preferences and the specific requirements of the plants and corals you plan to include.
“The rocks you choose will ultimately determine the character of your aquascape.”
When selecting rocks, ensure that they are aquarium-safe and do not contain any harmful substances. Limestone and slate rocks are popular choices, as they are inert and do not affect the water chemistry. If you prefer a more decorative option, look for aquarium-safe artificial rocks that resemble natural formations.
Organizing and Arranging the Rocks
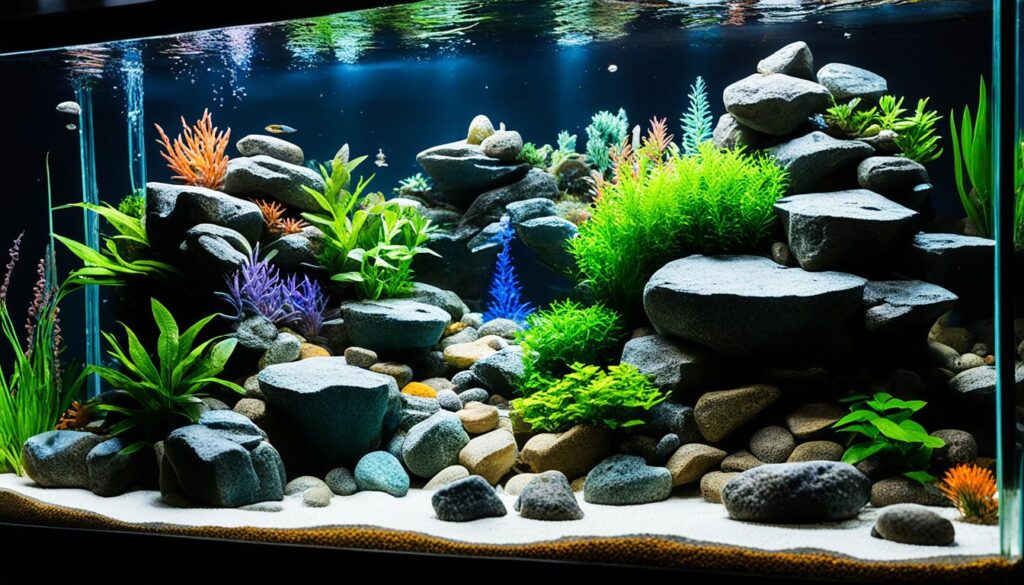
Once you have gathered your rocks, it’s time to organize them and envision your desired aquascape. Sort the rocks by size and shape to make the arranging process easier. Start with the larger rocks as the base and build upwards, adding smaller rocks to create depth and dimension.
“Experimenting with different rock arrangements allows you to find the perfect composition for your underwater masterpiece.”
When arranging the rocks, remember to create caves, tunnels, and ledges for fish to explore and seek shelter. These hiding spots provide a sense of security and mimic the natural habitat of your aquatic pets. Aim for a balance between open swimming spaces and secluded areas to ensure the well-being of your fish.
Securing the Rocks
Once you are satisfied with the arrangement of your rocks, it’s crucial to secure them in place to prevent any accidental shifts or collapses. Epoxy and super glue are commonly used to bind rocks together, ensuring stability and longevity. Follow the instructions provided with the adhesive and allow the rocks to fully bond before placing them in your tank.
“Properly securing the rocks will prevent any potential hazards in your aquarium and keep your aquascape looking pristine.”
It’s important to note that rocks with porous surfaces, such as live rock, may require additional measures to ensure stability. You can use plastic mesh or zip ties to secure them in position until the adhesive cures completely.
Curing and Acclimating Live Rock
If you choose to use live rock instead of making your own, it’s important to properly cure and acclimate it. Curing live rock is a crucial step in ensuring the health and longevity of your aquarium. It involves removing any dead material from the rock and introducing beneficial organisms to establish a stable ecosystem.
To begin the curing process, you’ll need a container large enough to hold the rock and saltwater. A plastic tub or bucket works well for this purpose. Fill the container with saltwater made from a quality marine salt mix, following the manufacturer’s instructions.
Next, carefully place the live rock in the container, making sure that it is fully submerged. It’s important to handle the rock with care to avoid damaging any delicate organisms or corals that may be attached.
During the curing period, it’s recommended to perform regular water changes to remove any dead material and prevent the buildup of toxins. Aim to change approximately 10% of the water every few days to maintain optimal water quality.
Curing live rock helps remove any excess nutrients and toxins, creating a healthier environment for your fish and corals.
The duration of the curing process can vary depending on the condition of the live rock. In some cases, it may take as little as one week, while in others, it can take up to three weeks. It’s important to regularly monitor the water parameters and observe any changes in the rock. Once the water parameters stabilize and any signs of decay or discoloration disappear, the live rock is considered cured.
Once the live rock is fully cured, it’s time to acclimate it to your established tank. This process helps the rock adjust to the specific conditions of your aquarium and minimizes the risk of any shock to your existing livestock.
To acclimate the live rock, slowly introduce it to your tank by placing it in a low-flow area. This allows the organisms on the rock to adapt to the water conditions gradually. Over the course of several hours, gradually increase the water flow around the rock to match the flow rate of your tank.
It’s important to closely monitor your tank during the acclimation process and ensure that water parameters remain stable. Observe the behavior of your fish and corals to ensure they are not displaying any signs of distress.
Benefits of Curing and Acclimating Live Rock:
| Benefits | Description |
|---|---|
| Establishes a stable ecosystem | Curing and acclimating live rock helps create a healthy and balanced environment in your aquarium, supporting the growth of beneficial organisms and maintaining water quality. |
| Reduces the risk of disease | By properly curing and acclimating live rock, you minimize the introduction of harmful pathogens and parasites to your tank, reducing the risk of disease outbreaks among your fish and corals. |
| Promotes natural filtration | The organisms and bacteria present on the live rock act as a natural biological filter, helping to break down waste and maintain a clean and healthy aquarium environment. |
Curing and acclimating live rock is an essential step in successfully incorporating it into your aquarium. By following these steps and giving your live rock the proper care and attention it needs, you can ensure a thriving and vibrant marine ecosystem in your fish tank.
Designing a Functional and Aesthetically Pleasing Aquascape
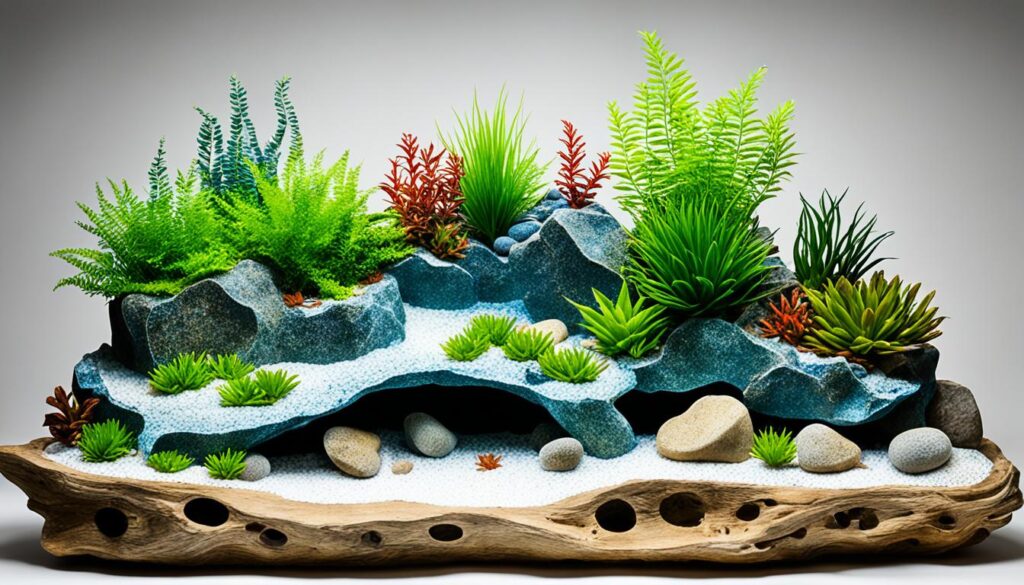
When designing your aquascape, it is important to consider both functionality and aesthetics. The layout of your rocks and the overall arrangement should provide plenty of surface area for corals to attach and create hiding places for your fish. This will not only create a visually appealing display but also provide a natural habitat for the inhabitants of your aquarium.
When planning the layout, it is crucial to keep in mind the dimensions of your tank and leave enough space for cleaning the glass. Ensuring easy access for maintenance will make your life as an aquarium owner much easier.
Additionally, take the growth of your corals into account when arranging the rocks. Visualize how your corals will grow over time and plan accordingly. Providing sufficient space for growth will prevent overcrowding and ensure a healthy environment for your corals to thrive.
Another factor to consider is the growth of algae. While some algae growth is beneficial to your ecosystem, excessive growth can detract from the overall aesthetics of your aquascape. By strategically placing rocks, you can create areas that help control algae growth and maintain a balanced environment.
Experiment with different angles and viewpoints to ensure that the aquascape looks appealing from all sides. Take the time to step back and evaluate the overall composition and adjust as needed.
Remember, a well-designed aquascape should be both functional and visually pleasing.
Key Tips for Designing a Functional and Aesthetically Pleasing Aquascape:
- Provide ample surface area for corals to attach.
- Create hiding places for fish to feel secure.
- Consider the dimensions of your tank for easy maintenance.
- Visualize coral growth to prevent overcrowding.
- Plan for controlled algae growth.
- Experiment with different angles and viewpoints.
Tips and Tricks for Aquascape Building
Building an aquascape can be a challenging yet rewarding endeavor. With the right techniques and a little creativity, you can create a stunning underwater landscape for your aquarium. Here are some step-by-step rock crafting tips to help you achieve a beautiful and unique DIY rock art:
1. Set up Your Workspace
To begin your aquascape project, find a large table and cover it with a cardboard and towel to protect the surface. This will provide you with a stable and safe area to work on.
2. Break Larger Rocks
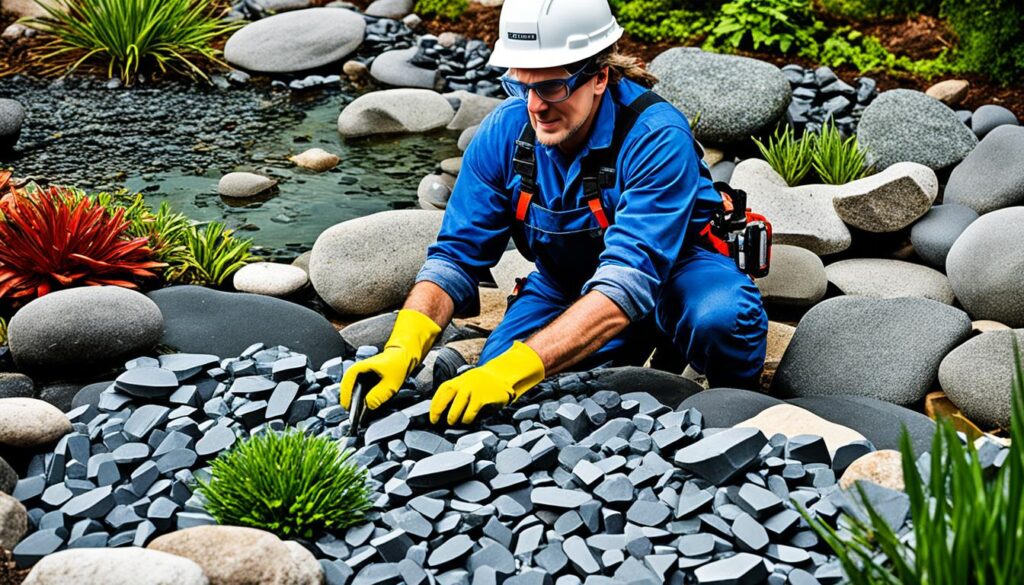
If your rocks are too big, you can use a hammer and chisel to break them into smaller, more manageable sizes. Be careful and wear protective eyewear to avoid injury.
3. Organize Rocks by Size
Sort your rocks by size before you start gluing them together. This will help you plan and visualize your aquascape. Use smaller rocks for details and larger rocks for the main structure.
4. Plan Your Aquascape
Before gluing anything together, take some time to plan out your aquascape design. Consider the placement of rocks, the flow of the water, and the needs of your fish and plants. This will ensure a harmonious and functional layout.
5. Secure Rocks with Glue
Use epoxy and super glue to secure the rocks together. Apply a generous amount of glue to the contact points between the rocks and hold them firmly in place. Let the glue dry for at least 24-48 hours before moving the aquascape into your tank.
6. Be Patient and Experiment
Building an aquascape takes time and patience. Don’t be afraid to experiment with different arrangements and angles. Take a step back, evaluate your progress, and make adjustments if needed. Remember, the beauty of DIY rock art lies in its uniqueness.
By following these step-by-step rock crafting guide and DIY rock art tips, you’ll be well on your way to creating a visually stunning and personalized aquascape for your aquarium. Enjoy the process and let your creativity shine!
Maintaining and Evolving Your Aquascape
Now that you have created your stunning aquascape, it’s crucial to maintain and evolve it for long-term success. By following these DIY rock landscaping tips, you can ensure the longevity and beauty of your fish tank.
Regular Checkups and Adjustments
Keep a close eye on your aquascape by performing regular checkups. Look for any loose rocks or signs of instability, and make necessary adjustments to maintain a stable and secure structure. This will prevent any potential accidents in your tank and keep your aquatic habitat safe.
Monitoring Coral and Algae Growth
“A well-maintained aquascape creates a healthy and thriving ecosystem.” – Me
Monitoring the growth of corals and algae in your tank is essential to maintaining a balanced and visually appealing environment. Keep an eye out for excessive growth, and prune or remove any unwanted algae or corals that may overshadow or outcompete others in your aquascape. Regular maintenance ensures that your aquascape remains aesthetically pleasing and allows for optimal growth of your desired corals and plants.
Adding a Fresh Look
Your aquascape doesn’t have to remain static! As your tank evolves, you can consider adding or rearranging rocks to create a new look. This not only gives your tank a fresh aesthetic appeal but also provides new hiding spots and surfaces for corals to grow. Be creative and experiment with different rock arrangements to continually enhance your aquascape’s visual impact.
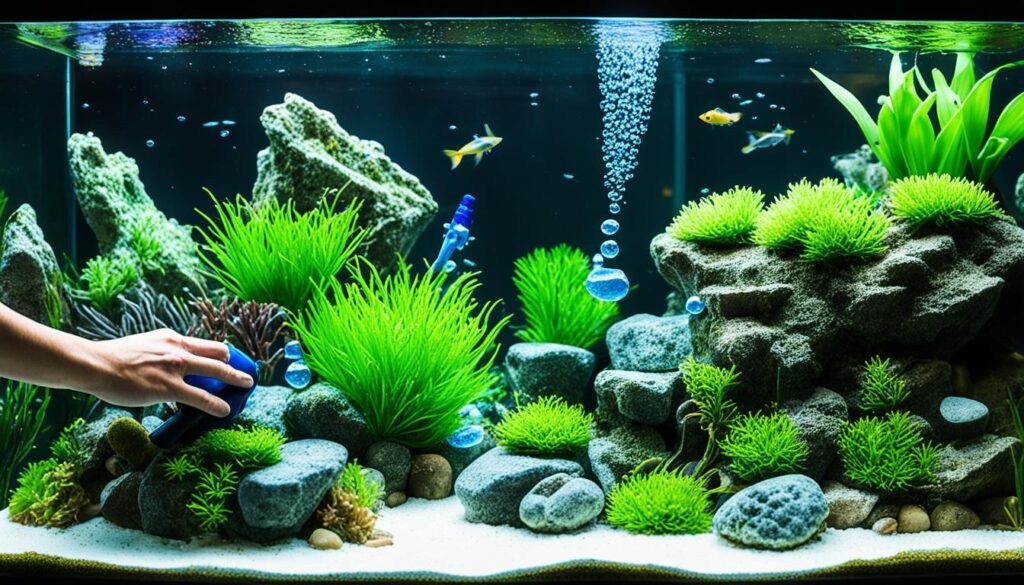
Rock maintenance in fish tanks is essential for the long-term health and beauty of your aquascape.
By staying attuned to the needs of your fish and corals and investing time and effort into maintaining and evolving your aquascape, you can create a thriving and visually captivating underwater world within your own home.
Showcasing Your DIY Aquarium Rockscapes
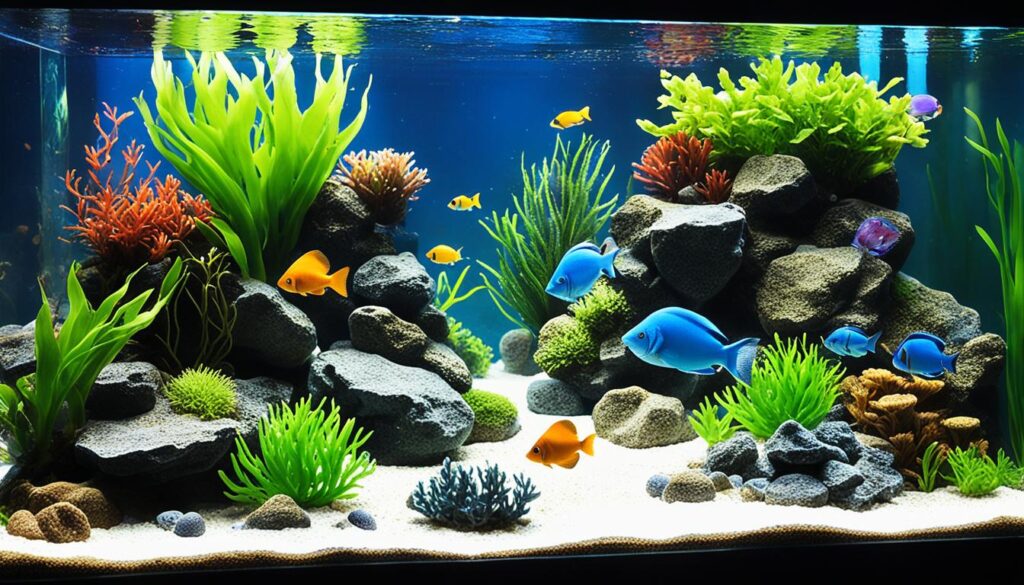
Your DIY aquarium rockscapes are a reflection of your creativity and personal style. These unique designs add a touch of artistry to your fish tank, creating a captivating and beautiful underwater landscape. To share your passion and inspire other aquarium hobbyists, consider showcasing your DIY rockscapes through various channels.
1. Online Forums
Join online forums dedicated to aquarium enthusiasts and share your DIY rockscapes with fellow hobbyists. These forums provide a platform for discussions, feedback, and inspiration. Post high-quality images of your creations, along with detailed descriptions and any tips or techniques you used in the process. Engage with the community, answer questions, and learn from others.
2. Social Media
Utilize the power of social media platforms to showcase your DIY rockscapes to a wider audience. Create an Instagram account or a Facebook page specifically for your aquarium creations. Regularly share captivating visuals of your rockscapes from different angles, highlighting the intricate details and unique features. Use relevant hashtags such as #DIYRockscapes and #AquariumDesigns to reach aquarium enthusiasts around the world.
3. Quality Photography
Photography plays a crucial role in capturing the beauty and essence of your DIY aquarium rockscapes. Invest in a good camera or use the advanced features of your smartphone to capture high-resolution images that do justice to your creations. Experiment with different lighting conditions and angles to showcase your rockscapes’ full potential.
4. Aquarium Contests and Competitions
Consider participating in aquarium contests and competitions to gain recognition and appreciation for your unique rockscapes. These events provide a platform to showcase your talent and compete with fellow hobbyists. Research and find contests that align with your style and submit your best photographs and detailed descriptions to enter. Participating in such events can help you connect with like-minded individuals and gain exposure in the aquarium community.
Remember, showcasing your DIY aquarium rockscapes is not only about sharing your talent but also about inspiring others to explore their creativity and design their own custom rockscapes. Embrace the process, enjoy the journey, and continue to refine your skills. Your unique creations will undoubtedly leave a lasting impression on anyone who encounters them.
Tips for Success and Troubleshooting
Building DIY aquarium rockscapes can be an exciting and rewarding endeavor, but it’s important to be prepared for potential challenges along the way. Here are some tips and troubleshooting strategies to help you overcome any obstacles you may encounter:
Troubleshooting Unstable Rocks
If you find that your rocks are not securely positioned or are shifting in your aquarium, there are a few steps you can take to address the issue:
- Reposition the rocks: Carefully remove the rocks from the aquarium and reposition them, ensuring a stable base and arrangement.
- Use aquarium-safe adhesives: Supplement the positioning of the rocks by using epoxy or aquarium-safe glue to secure them in place.
- Create supporting structures: Consider adding additional rocks or structures around unstable areas to provide support and stability.
Troubleshooting Unwanted Growth
Unwanted growth, such as algae or invasive organisms, can sometimes occur in aquarium rockscapes. Here are some ways to address this issue:
- Manual removal: If you notice algae or other growth, manually remove it by gently scrubbing or scraping the affected areas with a soft brush or sponge.
- Optimize lighting and nutrient levels: Adjust the lighting and nutrient levels in your aquarium to discourage the growth of unwanted organisms. Consult with a knowledgeable aquarist or refer to online resources for specific recommendations based on your tank setup.
- Introduce natural predators: Depending on the type of unwanted growth, adding certain species of fish or invertebrates that naturally feed on algae or other organisms can help control their population.
Remember, each aquascape is unique, and there is no one-size-fits-all solution. Don’t be discouraged by challenges along the way. Embrace them as opportunities to learn and improve your rockscaping skills!
Seeking Expert Advice
When troubleshooting your DIY aquarium rockscapes, it can be helpful to seek advice from experienced aquarists. There are many online forums, social media groups, and websites dedicated to aquarium hobbyists where you can find valuable tips and insights. Here are some reliable online resources to explore:
- AquariumForum.com
- AquaticPlantCentral.com
- Reef2Reef.com
By engaging with these communities and sharing your experiences with others, you can gain valuable knowledge and support throughout your rockscaping journey.
Rockscaping Troubleshooting Guide
| Issue | Troubleshooting Steps |
|---|---|
| Unstable rocks | Reposition rocks, use aquarium-safe adhesives, create supporting structures |
| Unwanted growth | Manual removal, optimize lighting and nutrient levels, introduce natural predators |
Remember, troubleshooting is part of the learning process, especially for beginners. Embrace the challenges and enjoy the journey of creating your own unique DIY aquarium rockscapes!
Conclusion
Designing DIY aquarium rockscapes is an incredibly satisfying and enjoyable endeavor. By utilizing the right techniques and materials, you have the power to create breathtaking and functional rockscapes that provide an ideal environment for your fish and corals. The choice between making your own live rock or using natural live rock depends on the specific needs and preferences of your aquarium. Regardless of your decision, the process of aquascaping is a rewarding journey that will elevate the beauty of your tank.
As you embark on this creative adventure, take pride in the unique and intricate rockscapes you craft. Experiment with different designs, shapes, and colors to bring your vision to life. Remember to consider the needs and behaviors of your fish when arranging the rocks, creating optimal hiding spots and surfaces for corals. Regularly maintain and monitor your aquascape to ensure its durability and aesthetic appeal.
By showcasing your DIY aquarium rockscapes to fellow hobbyists and engaging in aquarium communities, you can gain inspiration and recognition for your artistic creations. Embrace the learning process, seek advice from experienced hobbyists, and troubleshoot any challenges you encounter along the way. Each aquascape is a testament to your creativity and passion and contributes to the beauty and health of your aquarium. So dive in and enjoy the fulfilling journey of DIY rockscaping!
FAQ
Why is live rock important in saltwater aquariums?
Live rock provides a natural habitat for fish, crabs, snails, and corals, as well as serving as substrate for beneficial bacteria.
What are the benefits of using DIY live rock?
DIY live rock is more eco-friendly and doesn’t require taking rock directly from the ocean.
What is the advantage of using natural live rock?
Natural live rock contains a diversity of organisms and is ready to use without the need for a curing process.
What type of rock should I choose for my aquascape?
Dry rock provides more flexibility in shaping and designing your rockscapes. Basic mined limestone rock is affordable and easily broken down, while colored rocks have a more aesthetic appeal.
How do I organize the rocks in my aquascape?
Sort your rocks by size and consider the size, shape, and appearance as you organize them for your aquascape.
How do I create an aquascape?
Start by visualizing the finished product, choosing the right rocks, and organizing them by size. Then, stack and arrange them to create your desired design, secure them together using epoxy and super glue, and let it dry before moving it into your tank.
How do I cure and acclimate live rock?
Curing involves placing the live rock in a container with saltwater and performing regular water changes. Acclimating the rock to your tank is necessary to ensure its survival.
What should I consider when designing my aquascape?
Consider functionality, aesthetics, the needs of your fish and corals, tank dimensions, and the growth of corals and algae.
What tips and tricks can help me with building an aquascape?
Use a large table covered in cardboard and a towel as your workspace, break up larger rocks using a hammer and chisel, organize the rocks by size, plan out your aquascape before gluing anything, secure the rocks using epoxy and super glue, and let it dry before moving it into your tank.
How do I maintain and evolve my aquascape?
Regularly check for loose rocks or signs of instability, monitor and prune corals and algae growth, and consider adding or rearranging rocks to create a new look.
How can I showcase my DIY aquarium rockscapes?
Share your creations with other hobbyists through online forums or social media, take quality photos from different angles, and consider participating in contests and competitions.
What tips can help me succeed in creating DIY aquarium rockscapes?
Be patient, open to troubleshooting, seek advice from experienced hobbyists or consult online resources, and continuously improve your rockscaping skills.
How can I conclude my DIY aquarium rockscaping journey?
Take pride in your handmade rockscapes and enjoy the process of creating and showcasing your unique designs.
