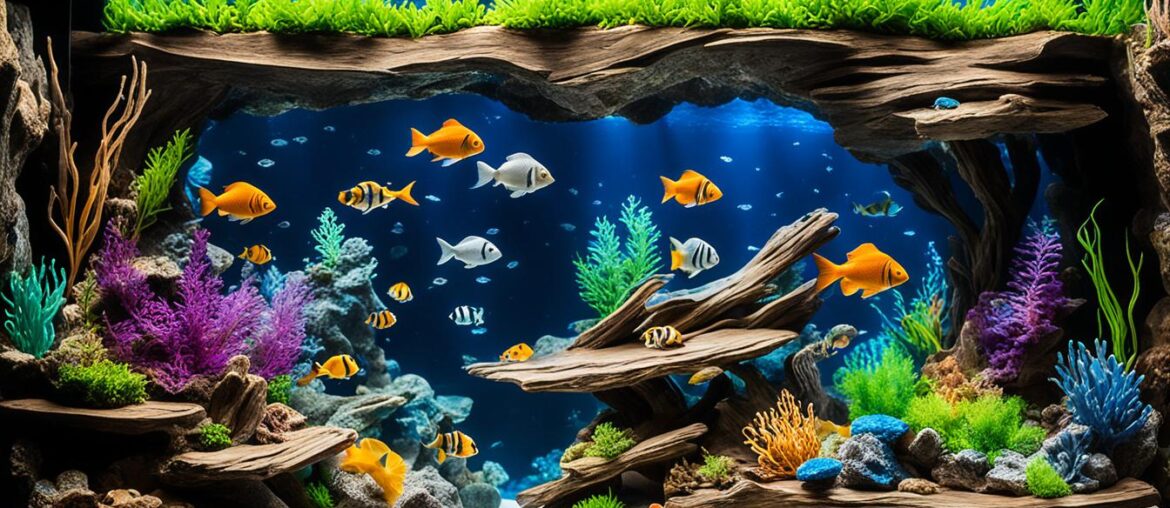
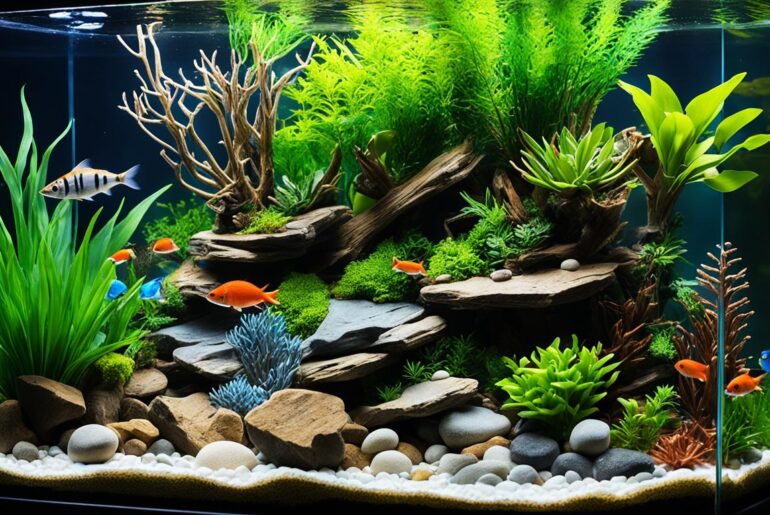
Have you ever looked at your fish tank and felt like something was missing? Maybe your fish seem a bit bored, or you simply want to give your aquarium a fresh new look. I know exactly how you feel.
I’ve always been fascinated by the beauty of underwater landscapes and the captivating world of fish. But it wasn’t until I started creating my own DIY aquarium cave decorations that I truly felt connected to my tank. The satisfaction of watching my fish explore their new hideaways and seeing the beauty of my own creations was indescribable.
If you’re a beginner looking to enhance the appeal of your fish tank or provide hiding spots for your fish, you’re in the right place. In this article, I’ll guide you through 10 easy steps to create personalized and beginner-friendly DIY aquarium cave decorations. No matter your skill level or budget, you’ll be able to create stunning decorations that will bring joy to both you and your fish.
So, let’s dive in and get started on this creative and rewarding journey to transform your fish tank!
Key Takeaways:
- Creating DIY aquarium cave decorations allows you to enhance the appeal of your fish tank and provide hiding spots for your fish.
- With these 10 easy steps, beginners can create personalized and beginner-friendly decorations.
- Materials like a coconut, drill, saw, chisel, and sandpaper can be used to make unique and budget-friendly decorations.
- By following these steps, you can create stunning decorations that will bring joy to both you and your fish.
- Get creative, have fun, and enjoy your personalized aquarium!
Step 1: Gather Your Materials
Before beginning your journey to creating stunning DIY aquarium cave decorations, it’s essential to gather all the necessary materials. These items will serve as the building blocks for your fish tank cave decor ideas.
- A coconut: This will be the main component of your cave decoration.
- A drill: Used to create holes and openings in the coconut.
- A saw: Required to cut the coconut into the desired shape and size.
- A chisel: Needed to remove the flesh from the coconut shell.
- Sandpaper: Used to smooth out any rough edges on the coconut shell.
- A marker pen: Helps mark out the design and door placement on the coconut.
I know it may seem like a lot, but don’t worry if you don’t have all the specific tools mentioned. There’s always room for improvisation with what you have on hand! The key is to have fun and unleash your creativity.
Having these materials at your disposal will make the DIY process much smoother and enjoyable. So let’s dive in and see how we can transform these simple items into captivating cave decorations for your fishy friends!
Step 2: Prepare the Coconut
Before we dive into creating your DIY aquarium cave, it’s crucial to prepare the coconut properly. By following these steps, you’ll ensure a smooth and successful decorating process:
- Start by finding a sturdy coconut. You can purchase one from a local grocery store or use one that you already have at home.
- Place the coconut over a sink or a bowl to catch any liquid. Using a drill or a sharp object like a nail or screwdriver, carefully pierce the coconut eyes to create small holes. These holes will allow you to drain the milk/juice/fluid inside.
- Hold the coconut firmly and give it a gentle shake to loosen and remove the liquid. Make sure to drain as much liquid as possible.
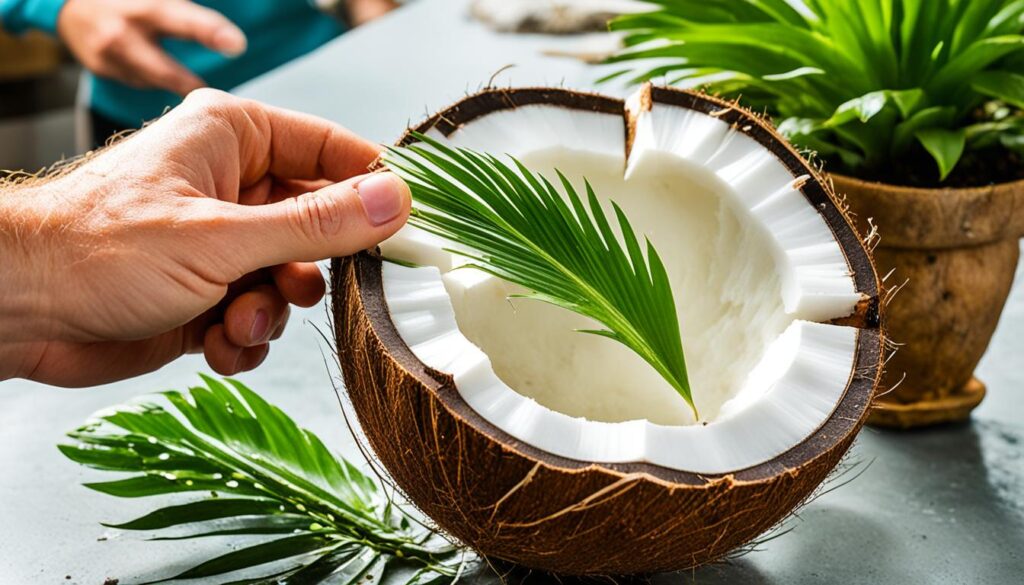
Note: Draining the coconut is essential to prevent any unwanted odor or deterioration of your DIY aquarium cave decorations.
Once you’ve drained the coconut, you’re ready to move on to the next step and start transforming it into a stunning decoration for your fish tank.
Step 3: Cut the Coconut
Now that the coconut is drained, it’s time to cut it to your desired size. This step allows you to customize your DIY aquarium cave decorations and make the most out of your resources. By cutting the coconut in half, you can create two caves instead of one, maximizing the usage of the coconut shell. To cut the coconut, you will need a saw, which can easily slice through the tough outer shell.
If possible, I recommend clamping the coconut before cutting it. This will ensure that the coconut remains stable and secure, making the cutting process easier and safer. Take your time and work carefully to achieve the desired shape and size for your homemade aquarium decorations.
Remember, safety should always come first when handling tools. Wear protective gloves and eyewear to protect yourself while cutting the coconut shell.
| Materials | Tools |
|---|---|
| Saw | Clamp (optional) |
| Coconut | Protective gloves |
| Protective eyewear |
https://www.youtube.com/watch?v=AnNxQUPanj8
“Cutting the coconut shell allows you to shape your DIY aquarium cave decorations according to your preferences and the needs of your fish. Take your time and work safely to achieve the desired results.”
Step 4: Remove the Flesh
Now that the coconut is cut to size, it’s time to remove the flesh from the shell. To do this, I recommend using a chisel to gently chisel the flesh out. It’s important to be careful during this step to avoid damaging the shell.

Be sure to hold the coconut securely while chiseling and work slowly to prevent any accidents. By removing the flesh, you’ll create a hollow space inside the coconut shell, which will be perfect for fish to swim in and out of.
Once the flesh is removed, you can discard it or find creative uses for it in other DIY projects. Remember to clean the shell thoroughly to ensure it’s free from any remaining debris or flesh.
Step 5: Sand the Shell
To ensure the safety of your fish, it’s important to sand the shell of the coconut. Sanding will help smooth out any rough edges that may harm your aquatic pets. It’s a simple yet crucial step in creating your DIY aquarium cave decorations.
If you prefer a more natural look, you can leave the shell as is. However, I recommend sanding the shell to prevent other animals from chewing on the coconut fibers. This will help maintain the integrity of the decorations and provide a longer lifespan for your DIY aquarium caves.
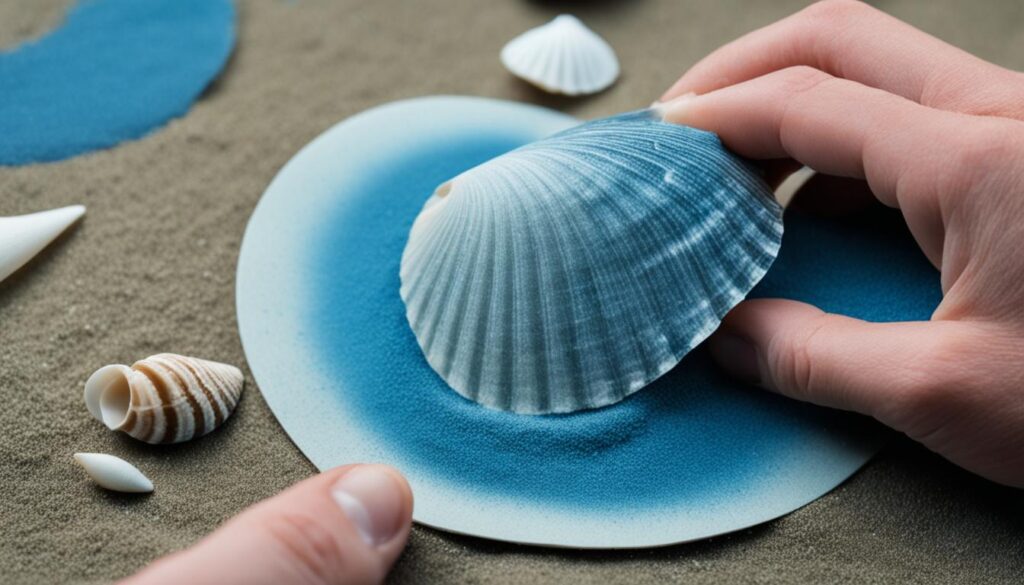
To sand the shell, you will need sandpaper with a medium to fine grit. Start by gently rubbing the sandpaper against the rough edges of the coconut, using a back-and-forth motion. Be sure to apply even pressure and sand all sides of the shell.
If you’re not sure which grit of sandpaper to use, a good rule of thumb is to start with a medium grit (around 120-150) and then switch to a finer grit (around 220-400) to achieve a smoother finish.
After sanding, wipe away any dust or debris with a clean cloth. Take a moment to inspect the shell and make any necessary adjustments. If you notice any sharp edges or rough spots, continue sanding until the surface feels smooth and safe for your fish.
Note: Sanding the shell is an essential step, especially if you’re planning to house delicate or small fish species. It ensures that there are no sharp or abrasive surfaces that could harm your fish.
Step 6: Create the Door
The next step in your journey to creating DIY aquarium cave decorations is to add a door for your cave. This will not only add functionality to the cave, but it will also create a visually appealing element for your fish tank.
To create the door, start by drawing a line on the coconut shell where you want the door to be. This will serve as your guide. You can use a marker pen to make the line more visible.
Once the guide is in place, you have a couple of options for creating the door. If you have a drill, you can use it to create holes along the line you drew. Make sure the holes are close enough together to easily knock out the door. Alternatively, if you don’t have a drill, you can use a hammer and nail to create the holes.
Pro Tip: If you prefer a cleaner or more precise cut, you can use a hacksaw to carefully cut along the line, following the holes you made as a guide.
Once the holes are drilled or the door is cut, gently knock out the door using a hammer. Be careful not to damage the rest of the coconut shell.
After creating the door, it’s important to sand the edges to make it safe and smooth for your fish. You can use sandpaper to smooth out any rough edges along the opening of the door. This will prevent any potential harm to your fish and ensure a seamless integration with the rest of your aquarium decorations.
Now that your DIY aquarium cave has a door, it’s time to move on to the next step and add the finishing touches to your creation.
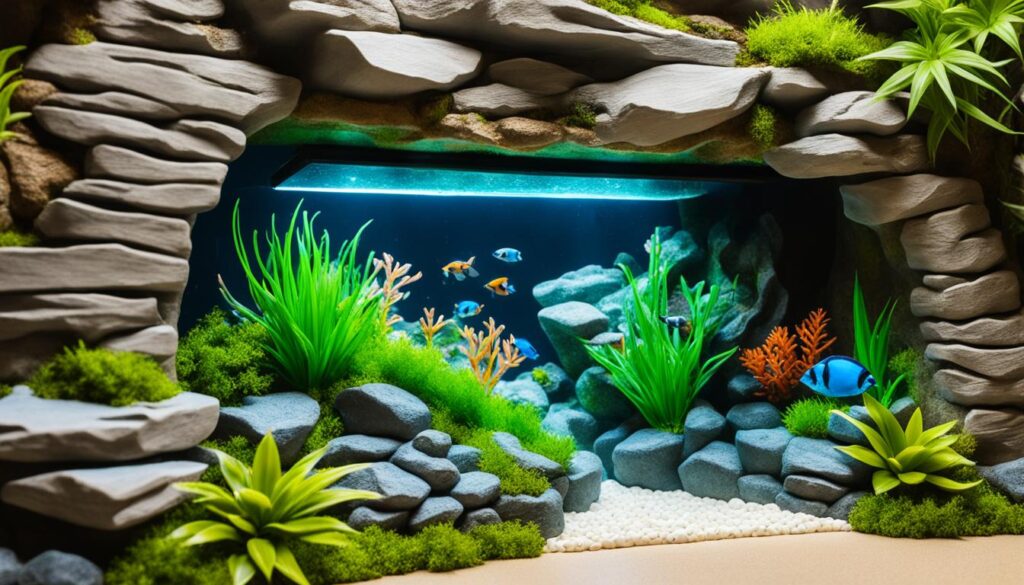
Step 7: Boil the Shell
If you plan to use the coconut cave in an aquarium, it’s important to remove any tannins from the shell. This can be done by boiling the shell in a pan for ten minutes, repeating the boiling process until the water turns clear. Boiling also sterilizes the shell, ensuring that no harmful bacteria affects the water conditions.
Boiling the shell is a crucial step in preparing your DIY aquarium cave decorations. It not only removes the tannins that can discolor the water but also helps to sterilize the shell, making it safe for your fish.
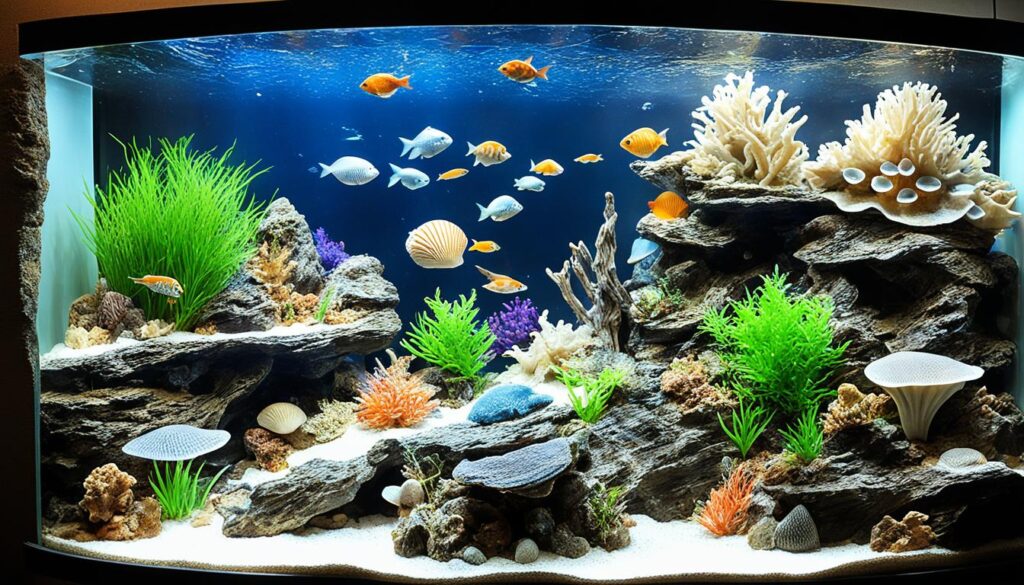
By boiling the shell, you can ensure that your DIY aquarium cave is clean and ready for use. The boiling process helps to eliminate any impurities, bacteria, or lingering odors that may be present. It also ensures that the water conditions in your aquarium remain optimal for your fish’s health and well-being.
Remember to use a pan that is large enough to accommodate the shell comfortably. Fill the pan with enough water to cover the shell completely. Place the pan on the stovetop and bring the water to a boil. Once the water is boiling, reduce the heat to a simmer and let the shell boil for ten minutes.
After the initial boiling, carefully remove the shell from the pan using tongs or a slotted spoon. Allow it to cool before inspecting the water. If the water remains clear, your shell is ready for use. However, if the water still appears discolored, repeat the boiling process until the water remains clear.
Boiling the shell not only ensures the cleanliness of your DIY aquarium cave decorations but also helps to enhance the visual appeal of your fish tank. The clear water allows the natural textures and colors of the shell to shine through, creating a beautiful and captivating underwater environment.
Now that you have boiled the shell and sterilized it, you are one step closer to completing your DIY aquarium cave decorations. In the next step, we will add the final touches and prepare the cave for placement in your fish tank.
Step 8: Final Touches
Now that your homemade fish tank cave decoration is ready, it’s time to put the finishing touches on it. Give it a final rinse using clean water, ensuring that all debris and residue are removed. Once rinsed, allow it to dry completely before placing it in your aquarium, tank, or cage.
But why stop there? You can take your DIY aquarium cave to the next level by adding some additional elements for a visually stunning display. One option is to incorporate java moss into the cave. This beautiful aquatic plant not only adds a touch of greenery but also creates a more natural and vibrant environment for your fish.
Adding java moss is easy. Simply secure small clumps of it to the inside walls of the cave using fishing line or non-toxic glue. Over time, the moss will grow and spread, creating a lush and inviting hiding spot for your fish.
Benefits of Adding Java Moss:
- Enhances the aesthetic appeal of your aquarium
- Provides additional cover and hiding spots for fish
- Increases oxygen levels in the water
- Helps to regulate water quality by absorbing excess nutrients
- Supports the growth of beneficial bacteria in the tank
Remember, as you continue to decorate your tank and make changes, be sure to update the cave accordingly. Switching up the decorations from time to time can provide a fresh and stimulating environment for your fish.
Now that your DIY aquarium cave decorations are complete, sit back, relax, and enjoy the beautiful underwater world you have created for your fish.
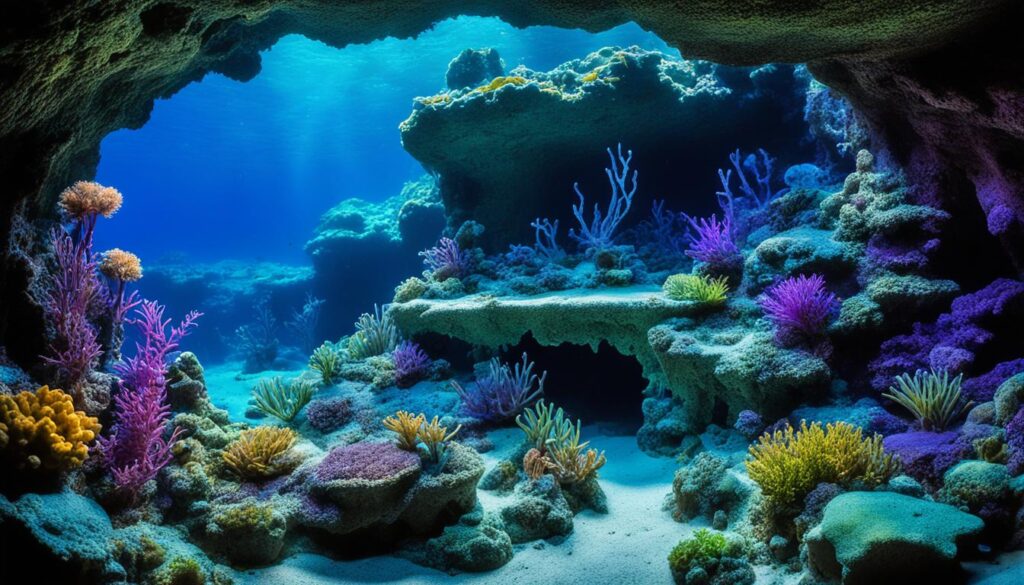
Cost of DIY Aquarium Decorations
The cost of DIY aquarium decorations can vary depending on the materials used and personal preferences. While some pre-made aquarium decorations can be expensive, there are plenty of budget-friendly options for beginners. By opting for DIY aquarium decorations, you can save money and still create visually appealing and unique decorations for your fish tank.
For example, a set of aquarium-ready driftwood can cost around $15-$20. However, with a little creativity and some basic materials, you can easily make your own driftwood-inspired decorations at a fraction of the cost. Simply gather some small branches or twigs, clean and sanitize them, and arrange them in your tank for a natural and inexpensive decor element.
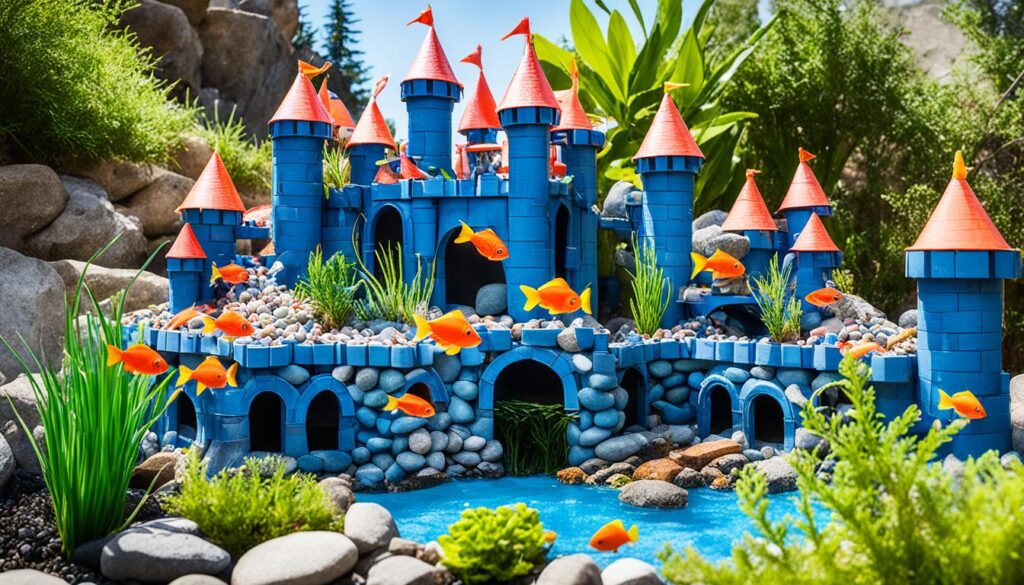
In addition to driftwood, there are many other inexpensive materials you can use to create DIY aquarium decorations. Here are a few ideas to get you started:
- Smooth river rocks or pebbles: Collect these from your garden or local riverbed to create a natural-looking and budget-friendly substrate.
- PVC pipes or tubes: Cut these into various lengths and arrange them to create caves and hiding spots for your fish.
- Terracotta pots: These can be transformed into caves or even planters for aquatic plants.
- Seashells: Gather shells from your beach vacation or purchase them from a craft store to add a beachy vibe to your tank.
By using these inexpensive materials and putting your DIY skills to work, you can create unique and personalized decorations for your aquarium without breaking the bank.
DIY Aquarium Decorations Savings Comparison
Here is a comparison that showcases the potential savings of DIY aquarium decorations compared to pre-made options:
| Decoration Type | Pre-Made Cost | DIY Cost | Savings |
|---|---|---|---|
| Aquarium-Ready Driftwood | $15-$20 | $5-$10 | $10-$15 |
| Artificial Plants | $10-$15 | $2-$5 | $5-$10 |
| Ceramic Ornaments | $20-$30 | $5-$10 | $15-$20 |
As you can see, the potential savings of DIY aquarium decorations are significant. By making your own decor, you have control over the materials used and can create decorations that are tailored to your taste and budget.
Conclusion
Creating DIY aquarium cave decorations is a fantastic way for beginners to add a personal touch to their fish tanks. By following the 10-step guide outlined in this article, you can easily create unique and beginner-friendly decorations that not only enhance the visual appeal of your tank but also provide hiding spots for your fish.
Whether you opt for a coconut cave, a pebble cave, or explore other creative ideas, homemade aquarium decorations allow you to unleash your creativity and make your tank truly one-of-a-kind. Not only will your fish appreciate the new additions, but you’ll also take pride in knowing that you’ve crafted these decorations yourself.
So, grab your tools and get started on your DIY aquarium project. Have fun in the process, experiment with different materials and designs, and enjoy the transformation of your tank into a personalized underwater oasis. With DIY aquarium cave decorations, you’ll create an environment that both you and your fish will love.
FAQ
What materials do I need to make DIY aquarium cave decorations?
You will need a coconut, a drill, a saw, a chisel, sandpaper, and a marker pen.
How do I prepare the coconut for the DIY aquarium cave?
Start by draining the coconut by drilling or piercing the eyes and shaking out the liquid.
How do I cut the coconut to create the cave?
Carefully cut the coconut using a saw, preferably clamping it for safety.
How do I remove the flesh from the coconut shell?
Gently chisel the flesh out of the coconut shell using a chisel.
Should I sand the shell of the coconut?
Yes, it is important to sand the shell of the coconut using sandpaper to smooth out any rough edges.
How do I create a door for the DIY aquarium cave?
Draw the door onto the coconut shell, drill holes near the line, and knock out the door with a hammer or hacksaw.
Why is it important to boil the shell for the DIY aquarium cave?
Boiling the shell removes tannins and sterilizes it, ensuring the safety of your fish.
How do I add the final touches to the DIY aquarium cave?
Rinse and dry the coconut cave before placing it in your aquarium. You can also add additional elements like java moss for visual appeal.
How much do DIY aquarium decorations cost?
The cost of DIY aquarium decorations can vary depending on the materials used, but they can be budget-friendly for beginners.
Are DIY aquarium cave decorations suitable for beginners?
Yes, DIY aquarium cave decorations are beginner-friendly and provide a personalized touch to your fish tank.
