Picture this: a tranquil oasis in your living room, filled with vibrant fish and lush aquatic plants. For me, this is not just a dream, but a reality that brings me immense joy and serenity. As an avid aquarium enthusiast, I have spent countless hours perfecting the art of creating and maintaining stunning aquatic ecosystems.
One crucial aspect of maintaining a healthy aquarium is the substrate. It’s the foundation that holds the entire ecosystem together, providing vital support for plants, a hiding place for fish, and a home for beneficial bacteria. However, as time goes by, the substrate may start to lose its luster or become less effective in filtering waste. That’s when the need for substrate replacement arises.
Replacing substrate in an established tank can be both exciting and daunting. It requires careful planning, meticulous execution, and a deep understanding of the delicate balance within the aquarium. But fret not, my fellow aquatic enthusiasts, because I’m here to guide you through the process step by step.
In this comprehensive substrate replacement guide, we will explore the best practices for changing the substrate in your established tank. From creating a checklist to transferring fish to a temporary holding tank, we will cover every aspect of the process to ensure a smooth transition for both you and your aquatic friends.
So, without further ado, let’s dive into the fascinating world of substrate replacement and unlock the secrets to maintaining a thriving aquatic paradise.
Key Takeaways:
- Replacing substrate in established tanks requires strategic planning and careful execution.
- Creating a checklist of tasks and materials is essential for a smooth substrate change.
- Transferring fish to a temporary holding tank ensures their safety during the process.
- Rinsing the new gravel thoroughly before adding it to the tank is crucial to remove any debris.
- Monitoring water parameters after the substrate change is essential to ensure a healthy environment for your aquatic friends.
Is Replacing Substrate in Established Tanks Controversial?
When it comes to replacing substrate in established tanks, there is an ongoing debate within the aquarium community. The controversy stems from differing opinions on the impact of substrate replacement on bacterial colonies and the role of beneficial bacteria within the substrate.
Some enthusiasts believe that the majority of beneficial bacteria reside in the substrate and should be disturbed as little as possible during the replacement process. They argue that disturbing the substrate can disrupt the delicate balance of these colonies and potentially harm the overall health of the tank.
On the other hand, there are those who contend that the primary source of beneficial bacteria is the filter medium and not the substrate. They believe that as long as the filter is properly maintained, substrate disturbance has minimal effect on the bacterial colonies present in the tank.
“The debate on substrate disturbance revolves around the understanding of where beneficial bacteria primarily reside – in the substrate or the filter medium. It’s a topic that sparks diverse viewpoints and prompts careful consideration before making a decision.”
When deciding whether to replace the substrate in an established tank, it is essential to weigh the potential impact on bacterial colonies. Understanding the role of beneficial bacteria and their distribution within the tank can help inform this decision-making process.
It’s worth noting that while the controversy persists, there are various strategies that can help mitigate any potential negative effects of substrate disturbance. These range from supplemental bacterial additives to careful monitoring of water parameters to ensure the tank’s overall health and stability.
Controversy Summary
| Arguments | Supporting Evidence |
|---|---|
| Substrate as primary source | Observation of well-established tanks with minimal substrate disturbance and thriving bacterial colonies. |
| Filter media as primary source | Studies showing successful tank cycling with minimal or no substrate, relying solely on proper filter maintenance. |
| Mitigation strategies | Proactive monitoring of water parameters, supplemental bacterial additives, and careful maintenance rituals to maintain colony balance. |
Benefits of Replacing Substrate in Established Tanks
While there may be controversy surrounding the replacement of substrate, there are several potential benefits to consider.
- Improved Aesthetics: One advantage of replacing the substrate is the opportunity to enhance the overall aesthetics of your tank. By choosing a more visually appealing substrate, you can transform your aquarium into a beautiful centerpiece in your home. Whether you prefer a natural, sandy look or vibrant colored gravel, there are options available to suit any aesthetic preference.
- Healthier Environment for Fish: Another significant advantage of substrate replacement is the creation of a healthier environment for your fish. Over time, waste and debris can accumulate in the substrate, leading to poor water quality and potentially harmful ammonia levels. By replacing the substrate, you can ensure proper waste neutralization, promoting better water conditions and overall fish health.
- Natural Colored Substrate: Fish thrive in environments that closely resemble their natural habitats. By choosing a more natural colored substrate, you can replicate the look and feel of the underwater world that your fish would encounter in the wild. This can help reduce stress levels and create a more comfortable living space for your aquatic friends.
By considering these advantages, you can make an informed decision regarding substrate replacement in your established tank. Whether you’re aiming to enhance aesthetics, improve water quality, or create a more natural environment for your fish, replacing the substrate can provide numerous benefits.
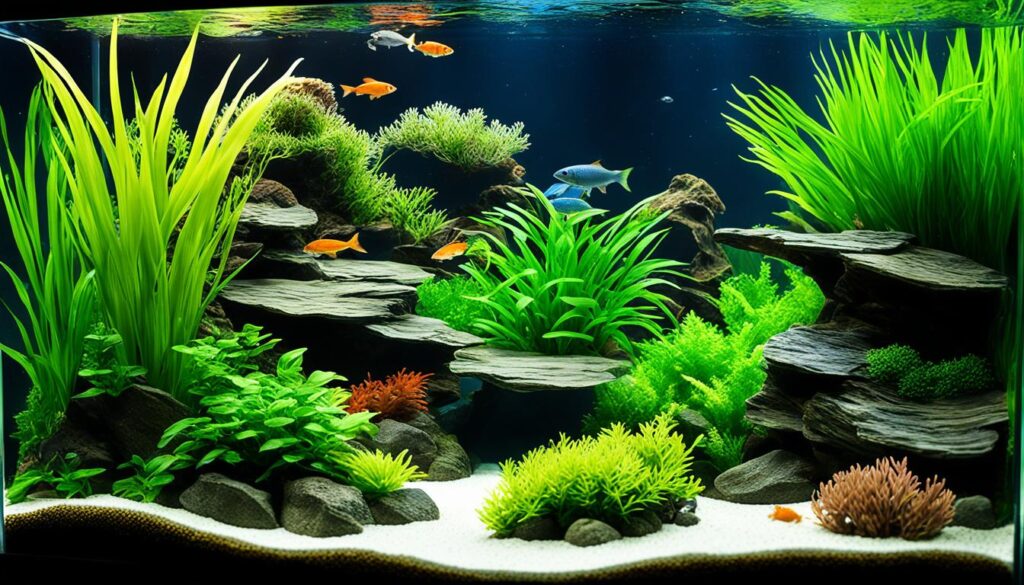
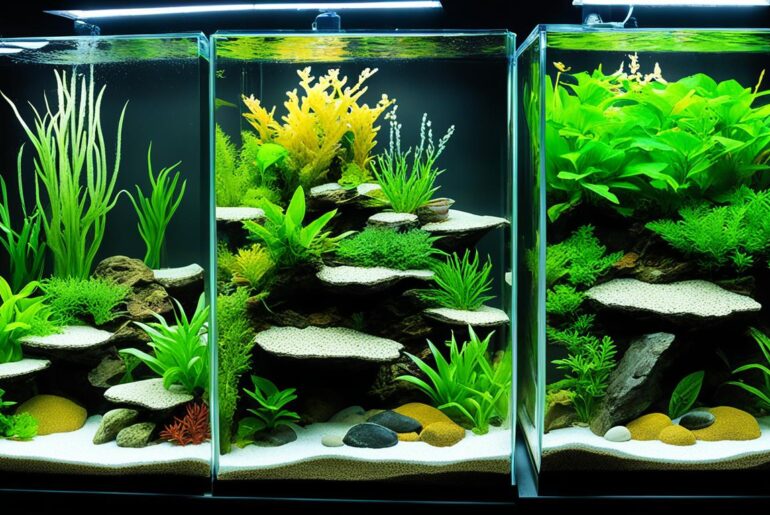
Comparing Popular Substrates for Aquariums
| Substrate Type | Advantages | Disadvantages |
|---|---|---|
| Sand |
|
|
| Gravel |
|
|
| Plant Substrate |
|
|
Preparing for Substrate Replacement
Before replacing the substrate in your established tank, proper preparation is essential to ensure a smooth transition. By following a checklist of tasks and making necessary arrangements, you can minimize stress on your fish and maintain a healthy environment. Here are some key steps to consider:
Moving Fish to a Temporary Tank
Keyword: moving fish to temporary tank
To safeguard your fish during the substrate replacement process, it’s important to set up a temporary holding tank. This tank will provide a safe and secure environment for your fish while you work on the main tank. If you have a spare tank available, you can use that as a temporary home for your fish. Ensure that the water conditions in the holding tank are suitable for your fish’s needs and closely monitor their well-being throughout the transition.
Timing the Gravel Change
Keyword: timing the gravel change
Timing is crucial when replacing the substrate in your tank. It’s best to avoid changing the gravel immediately after a filter change or cleaning, as this can disrupt the bacterial balance in your tank. Allow the filter media to stabilize before proceeding with the substrate replacement. By timing the gravel change properly, you can ensure a smooth transition and minimize any negative impacts on water quality.
Testing Water Parameters
Keyword: testing water parameters
Before initiating the substrate replacement, it’s important to test the water parameters in your tank. By conducting tests a few days prior to the substrate change, you can identify and address any issues before they become a problem. Testing for parameters such as ammonia, nitrite, and pH levels will give you a clear understanding of the water quality and ensure a safe environment for your fish during and after the substrate replacement process.
Rinsing New Gravel
Keyword: rinsing new gravel
Prior to adding the new gravel to your tank, it’s essential to thoroughly rinse it. Rinsing the gravel helps remove any dust, debris, or unwanted substances accumulated during packaging or storage. Place the new gravel in a fine mesh strainer or colander and rinse it under running water until the water runs clear. This process will help prevent cloudiness in the tank and maintain optimal water quality.
| Steps for Preparing Substrate Replacement |
|---|
| Create a checklist of tasks and materials needed |
| Move the fish to a temporary holding tank |
| Time the gravel change appropriately |
| Test the water parameters before the substrate change |
| Rinse the new gravel thoroughly before adding to the tank |
By following these steps and ensuring proper preparation, you can minimize stress on your fish and create a smooth transition during the substrate replacement process. Taking the time to plan, move your fish to a temporary tank, time the gravel change, test water parameters, and rinse new gravel will help you maintain a healthy and thriving aquarium environment.
Step-by-Step Guide to Replacing Substrate in Established Tanks
Replacing the substrate in an established tank requires careful planning and execution. Follow these step-by-step instructions to ensure a successful substrate replacement process.
Siphoning off Water
To begin, siphon off enough water from the main tank into a separate container or temporary holding tank. Fill the holding tank about two-thirds full to provide a safe and comfortable environment for your fish during the process.
Removing Rocks and Decorations
Next, carefully remove any rocks, plants, and decorations from the main tank. Transfer these items to the holding tank to preserve beneficial bacteria and provide a familiar environment for your fish.
Transferring Fish to Holding Tank
With the rocks and decorations safely removed, it’s time to move your fish to the holding tank. Use a net to quickly and gently transfer the fish, ensuring they are comfortable and secure in their temporary home.
Scooping out Old Gravel
Once the fish are secure in the holding tank, it’s time to remove the old gravel from the main tank. Use a clean cup or scoop to carefully scoop out the old gravel and place it in buckets for disposal.
Adding New Gravel
After removing all of the old gravel, take the opportunity to vacuum any debris from the bottom of the tank. Thoroughly rinse the new gravel to remove any dust or debris before adding it to the tank. Spread the new gravel evenly across the bottom of the tank, creating a smooth and stable substrate.
Moving Fish and Decorations Back to Main Tank
Finally, it’s time to move your fish and decorations back into the main tank. Carefully transfer the fish from the holding tank back to their original home, ensuring they are comfortable and have plenty of space to swim. Return the rocks, plants, and decorations to their respective places, recreating the familiar and visually appealing environment of your established tank.
With the substrate replacement process complete, closely monitor your water parameters to ensure a smooth transition for your fish. Testing for any ammonia or nitrite spikes and making any necessary adjustments will help maintain a healthy and stable aquarium environment.
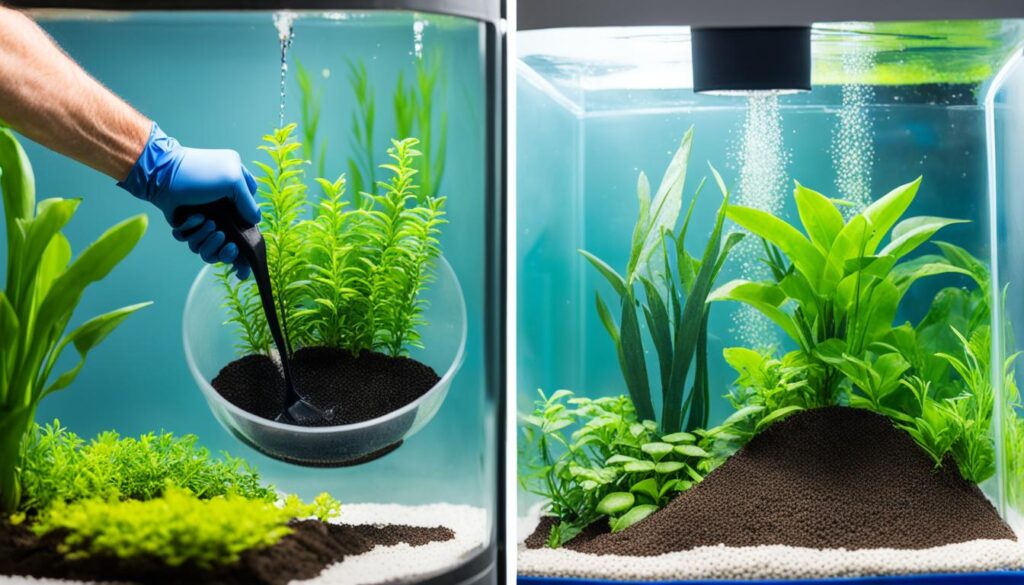
Follow these step-by-step instructions to replace the substrate in your established tank, providing a clean and refreshed environment for your fish while minimizing stress and disruption to their habitat.
Post-Substrate Replacement Care
After successfully replacing the substrate in your established tank, it’s important to take proper care to ensure the well-being of your fish and maintain a healthy environment. Here are some essential steps to follow:
Monitoring Water Parameters
Regularly monitor the water parameters in your tank to ensure they remain stable after the substrate replacement. This includes testing for ammonia and nitrite spikes, which can occur as a result of the disturbance caused during the substrate change. By keeping a close eye on the water parameters, you can quickly identify any potential issues that may arise and take appropriate action.
Treating Ammonia Spikes
If you do detect an ammonia spike in the days following the substrate replacement, it’s crucial to address it promptly. Ammonia is toxic to fish and can be harmful to their health. Begin by testing the water frequently and performing necessary water changes to reduce ammonia levels. Continue these measures until ammonia levels fall to zero and remain stable.
Stress Coat/Water Treatment
To help alleviate stress on your fish during this transition period, consider using stress coat or another suitable water treatment product. These treatments can help condition and protect the fish, providing a healthier and more comfortable environment as they adjust to the new substrate.
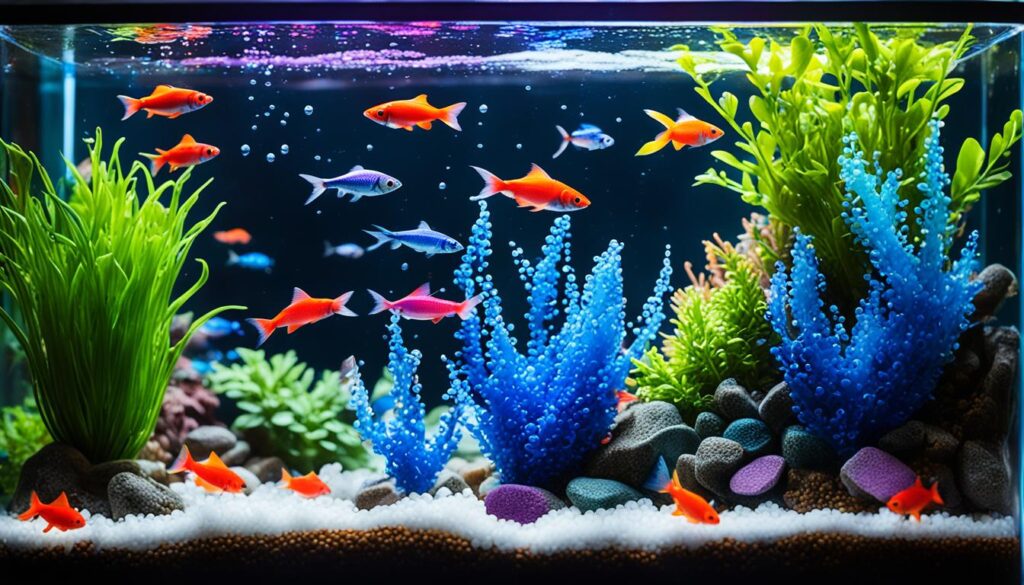
By closely monitoring water parameters, addressing ammonia spikes, and using stress coat or other appropriate water treatments, you can help ensure a smooth transition for your fish after replacing the substrate. This post-care practice is essential in maintaining a healthy and thriving aquarium environment.
Additional Considerations for Substrate Replacement
When replacing the substrate in your established tank, there are a few additional considerations that can contribute to the success of the process. Taking these factors into account ensures a smooth transition for your aquatic ecosystem.
Benefits of Temporarily Turning Off the Filter
One important consideration is temporarily turning off the filter during the substrate replacement. By doing so, you can preserve the beneficial bacteria that reside in the filter media. This prevents unnecessary disturbance and helps maintain a healthy balance in the tank.
The Importance of Rinsing New Gravel
Prior to adding the new gravel, it is crucial to thoroughly rinse it. Rinsing removes any dust or debris that may be present on the gravel’s surface, ensuring a clean and pristine environment for your aquarium inhabitants. Neglecting this step could lead to cloudiness in the water and potential problems for your fish.
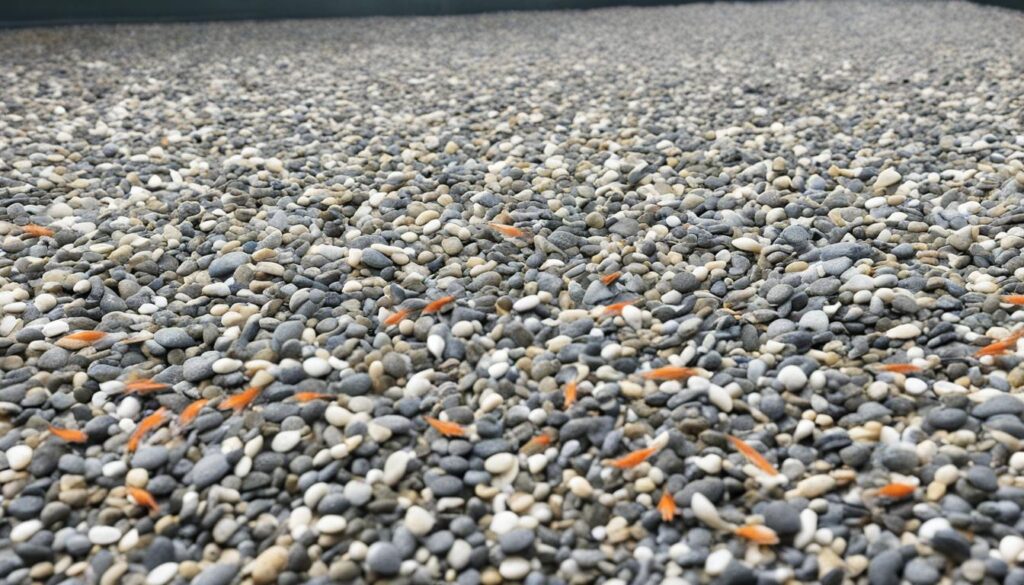
Lighting and Stress During the Transition Period
Another consideration is the lighting during and after the substrate replacement. It is advisable to leave the lights off for the remainder of the day after the change. This helps reduce stress on the fish and allows them to acclimate to their new surroundings without added stimuli. Gradually reintroducing lighting over the following days will help minimize stress and ensure a smooth transition.
In addition to adjusting the lighting, it can be beneficial to add a stress coat or other water treatment product to the tank. This aids in alleviating stress for your fish and supports their overall well-being during the transition period.
By considering these factors and implementing the appropriate measures, you can successfully replace the substrate in your established tank, creating a healthier and more aesthetically pleasing environment for your aquatic friends.
Tools and Materials Needed for Substrate Replacement
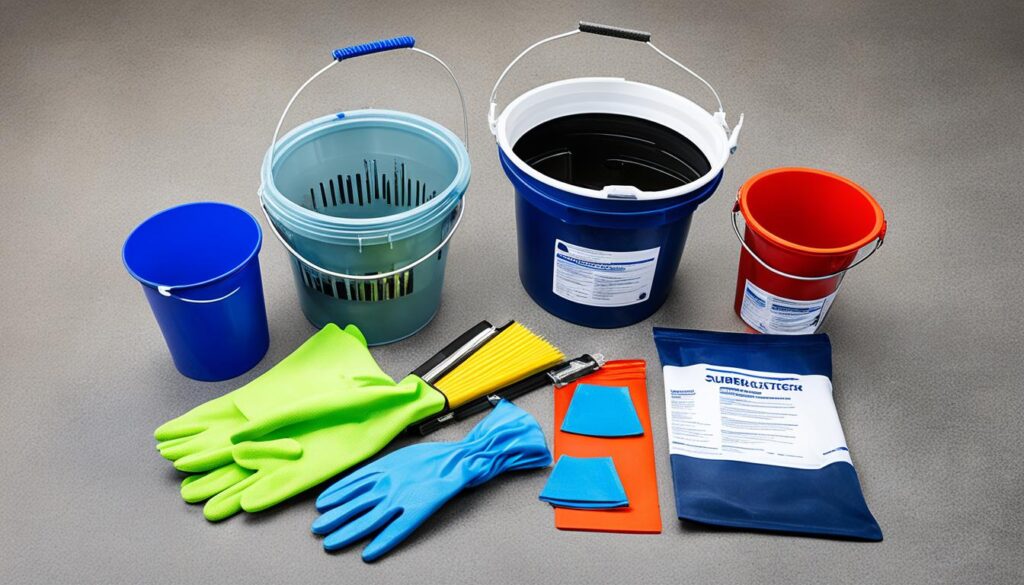
To successfully replace the substrate in your established tank, you will need the following tools and materials:
- Gravel Buckets: These are essential for efficiently removing the old gravel from your tank. Use multiple buckets to make the process easier and prevent spills.
- Clean Cup for Scooping Gravel: A clean cup or scoop will help you remove the old gravel from your tank without disturbing the water or fish.
- Stress Coat/Water Treatment: Stress coat or a similar water treatment product is necessary to help alleviate any stress that your fish may experience during the substrate replacement process.
- Water Test Kit: A water test kit is crucial for monitoring the water parameters before and after the substrate change. This will ensure that the water quality remains suitable for your fish.
Having these tools and materials on hand will make the substrate replacement process smoother and ensure that you can efficiently manage each step of the process.
Excerpt from the Article:
“When replacing the substrate in an established tank, it’s important to have the necessary tools and materials at your disposal. Gravel buckets are essential for removing the old gravel efficiently, while a clean cup or scoop will help you scoop out the gravel without causing too much disturbance in the tank. Using a stress coat or water treatment product can help reduce the stress experienced by your fish during this process. Lastly, a water test kit is crucial for monitoring the water parameters to ensure a healthy environment for your fish.”
Conclusion
When it comes to replacing the substrate in an established tank, it may be a topic up for debate among aquarium enthusiasts. However, by following key steps and considerations, you can successfully complete this task while maintaining a healthy environment for your fish.
First and foremost, planning ahead and creating a checklist of tasks and materials needed is crucial for a smooth substrate replacement process. This includes timing the gravel change carefully, ensuring that the filter media has had time to stabilize.
During the actual replacement, it’s important to move the fish to a temporary tank to provide them with a safe and stress-free environment. Siphoning off water, scooping out the old gravel, and adding new gravel are all essential steps that should be followed meticulously. Additionally, closely monitoring water parameters and treating any ammonia spikes are vital for the well-being of your aquatic friends.
By taking these steps, you can ensure a seamless substrate replacement that not only enhances the aesthetics of your aquarium but also provides a healthy environment for your fish. So, go ahead and give your tank a refreshing update, knowing that you’ve done it with the utmost care and consideration.
FAQ
Is it necessary to replace substrate in established tanks?
There is some debate among aquarium enthusiasts regarding the replacement of substrate in established tanks.
What are the potential benefits of replacing substrate in established tanks?
Replacing substrate can improve the aesthetics of the tank and create a healthier environment for fish.
How should I prepare for substrate replacement?
Before replacing the substrate, it’s important to create a checklist, move the fish to a temporary tank, time the gravel change, and test water parameters.
What is the step-by-step guide to replacing substrate in established tanks?
The process involves siphoning off water, removing rocks and decorations, transferring fish to a holding tank, scooping out old gravel, adding new gravel, and moving fish and decorations back to the main tank.
How should I care for my tank after replacing the substrate?
It’s important to monitor water parameters, test for ammonia and nitrite spikes, treat ammonia spikes, and consider lighting and stress during the transition period.
Are there any additional considerations for substrate replacement?
Yes, it’s beneficial to temporarily turn off the filter, thoroughly rinse new gravel, and pay attention to lighting and stress levels.
What tools and materials do I need for substrate replacement?
You’ll need gravel buckets, a clean cup for scooping gravel, stress coat or another water treatment product, and a water test kit.
Should I consider replacing the substrate in my established tank?
The decision to replace substrate depends on your specific circumstances. Weigh the potential benefits against the impact on bacterial colonies and make an informed decision.
What should I keep in mind when replacing substrate in established tanks?
It’s important to follow key steps and considerations and maintain a healthy environment for your aquatic friends.
